You’re in for a treat today with this guest post from my best friend Chandra. I will allow her to introduce herself below, but she is sharing a super darling balloon project that is perfect for a birthday or celebration. We all know how much I love a good celebration around here. xo, KNW
Hi everyone! I’m so excited that KNW invited me over here to the blog to share some party tips even as we continue to celebrate from home! Some of you may know me as “Cha Cha” (what the babies so endearingly call me). Kristin and I bonded in 2013 over handbags and fancy pants and the rest is history! What started out as accountability partners turned into spending vacations with each other, welcoming new babies, and encouraging one another through a few state-to-state moves! We’ve talked about this little corner of the internet many times through the years and it’s an honor to now be on it!
A little about me… I used to reside in Nashville where I started my career as an elementary teacher with a blog and product company called C. Jayne Teach. I decided to step away from that venture after six years to spend more time with my family. But after awhile, I found myself itching to do something else so I started working part time for a gift shop that was beginning to specialize in balloon creations.
I quickly fell in love with the creativity and excitement of the organic balloon industry and before I knew it our clients included everyone from Kacey Musgraves and Carrie Underwood to Miley Cyrus and Reese Witherspoon. When we decided to move back home to the Midwest, I knew I wanted to bring balloons with me!
Last year I launched Yellow Brick Balloons right here in my home state of Ohio and today I am going to share an easy way to elevate your next party. I’ve even mentored KNW through all of her birthday balloon creations the past few years (KNW edit: she is a gem to have helped me bring all the babies’ birthday ballon creations to life. This makes me want to go back and retro-blog all of the babies’ birthday parties to show off the balloons. Ha.) !
Today we’re going to be working on a balloon wreath, which is perfect for photo ops or as a centerpiece for your event. Plus it’s on the easier end of the scale to create, so no experience needed!
First up are your supplies.
- The first thing you’ll need is a hoop. You can get tubing from a hula hoop supply company or off Etsy to make a custom size, however, I used this one from Target, which works just as well!
- You’ll also need a balloon inflator. You can find these cheap and easy off of Amazon. (KNW edit: This is the one I have.)
- Then you’ll want to select any 5”-7” balloons in your color choice and you’ll need around 75-100 of them. I’m planning a mermaid party for my six year old, so I chose these Chrome colors to imitate a shimmery mermaid.
- If you want to add a message or letters inside your hoop as a centerpiece, then grab some fishing line (any kind is fine) and a letter garland kit. Meri Meri makes my favorite.
Step 1: Start to blow up your balloons and tie them together in pairs.
Step 2: Twist two pairs together to make a quad.
Step 3: Twist your quad around the hoop. I’m covering up the barcode on this hoop from Target with my first quad.
Step 4: Continue adding quads to the top of your hoop. After you add each quad, squeeze them together by pushing on both ends to decrease the amount of holes and gaps you’ll have. (KNW edit: ChaCha taught me balloons are far more squeezable than you think they are. Don’t be scared…)
Step 5: Once you have enough on the main portion of the hoop, add some to the top to make your hoop look really full. You can also add some to the bottom or off to the left/right for an asymmetrical look.
Step 6: Now it’s ready for photos! But if you want to learn how I add my letters, read on…
Step 7: Lay out your message from your letter kit.
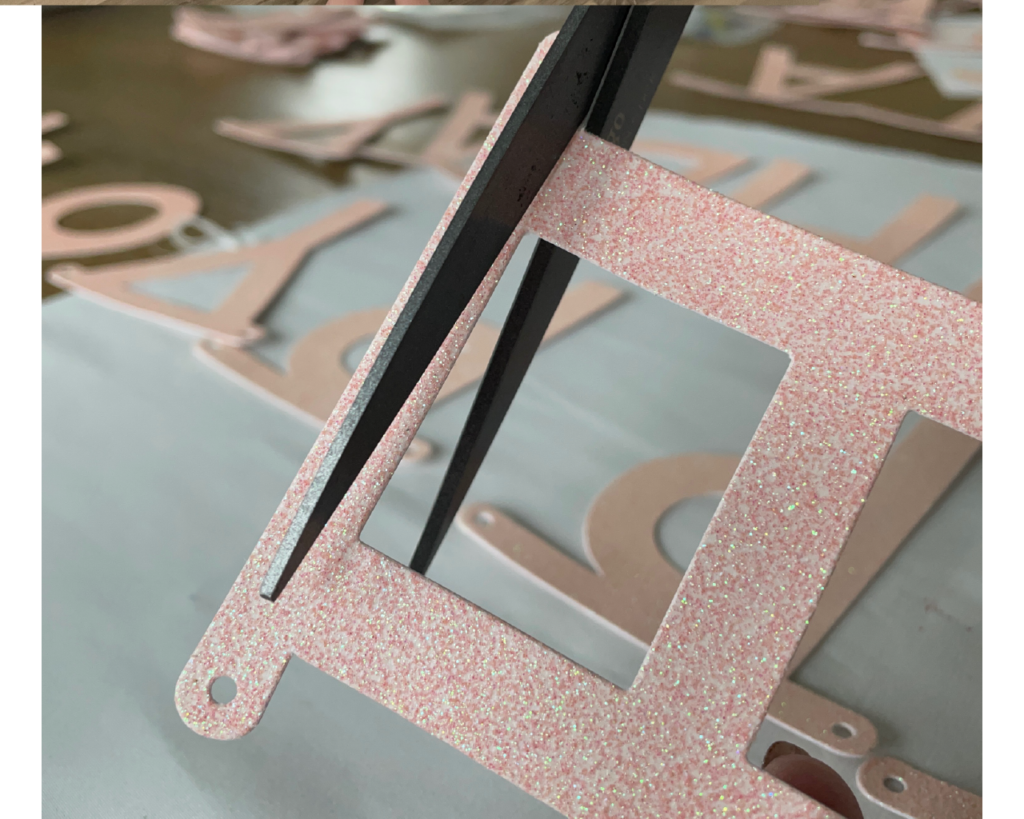
Step 8: I like a cleaner look, so I cut the tops off of these letters from this specific kit.

Step 9: Now you have to hole punch again. (Insider tip: try to get two holes for each letter so it “lays flat” on the fishing line. If you only have room to punch one hole, such as in the letter I, use a small piece of clear tape to secure it to the fishing line.)
Step 10: String your letters on the line and tie it to your hoop.
Hang it as a centerpiece and enjoy it for up to 4 weeks (and sometimes even longer!)
I hope this helps you plan a more special celebration even as we continue to have small parties and at-home fun. If you have any questions or need anything, feel free to reach out through my website or Instagram.
Hopefully I’ll see you soon with some more balloon fun in the future! Until then, happy celebrating!
Xoxo,
Chandra

So fun! This definitely sounds super easy and doable!
So fun! Thanks Cha Cha! xo